How to Create a Braided Headband
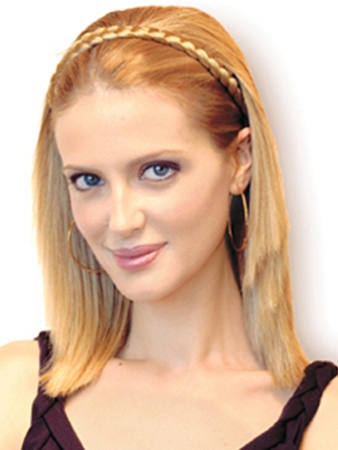
Braided headbands are cute, easy to do, carefree and shaping up to be the hottest hair trends this season. From Hollywood celebrities to the girl next door, this fashion trend is catching up fast. It is easy, neat and doesn’t require you to get your hair treated before the final styling, making it one of the fastest and the trendiest hair styles.

Instructions
-
1
Before beginning, make sure that your hair is smooth and without any tangles as it helps in braiding. This will work best with dry hair if you have straight hair, and in case your hair are curly then try braiding your hair wet as curly hair cannot be brushed when they are dry.
-
2
The next step is to part your hair; you can part on either side. However, parting the hair from the middle looks best with a braided headband.
-
3
Using a comb, you now have to create a part for the hair which you want to use as the headband. You would require a rectangular section of hair for this, so begin two - three inches behind the hairline.
-
4
To make a ponytail or a bun you need to end somewhere around two inches above the ear to secure a right corner as you move forward. However, if you are planning to carry a hair down style then you need to end at the ear.
-
5
Now you need to put the hair which is not braided into a ponytail. You have to do this in order to keep the hair from getting in the way as you braid the other part. To avoid a lump, it is recommended that you use a loose ponytail for wearing your hair down later.
-
6
Now is the time to begin braiding your hair. Part a section off the rectangular piece and divide it into three parts. Then you need to cross the rightmost piece over the centre. Add some hair to rightmost strand which is now the centre. Do this by using hair from the right side. Now move the left strand of hair over the centre. Add some hair from the further left side here as well.
-
7
You need to continue this process until you have used all the hair in the braid.
-
8
After completion, you now have to braid the remaining hair and then secure it with elastic at the end.
