How to Install Molding Around a Doorway
After you have gone on to install the frame of your new door in the door way, you need to check that the door is operational and functions properly. Once this is done, you are more than likely going to want to finish off the doorway by adding some molding to it.
Molding can help make your door look way nicer than it would look on its own, and it also helps air from flowing in around the door. As a result, it acts as an insulator and helps maintain a steady temperature inside the household.


Instructions
-
1
Measure
The first step to installing the molding is to measure the distances and lengths. You need to go on and measure the distance at the top of the door frame.
However, in order to make sure you do it right, try measuring it a number of times to get the right reading. -
2
Cut molding
Firstly you need to apply the measurements you have just taken to your molding. Ideally you will apply it to just one piece of molding at first.
Once you have done that, you need to cut out the piece of molding using a sharp cutting tool or a blade. -
3
Install
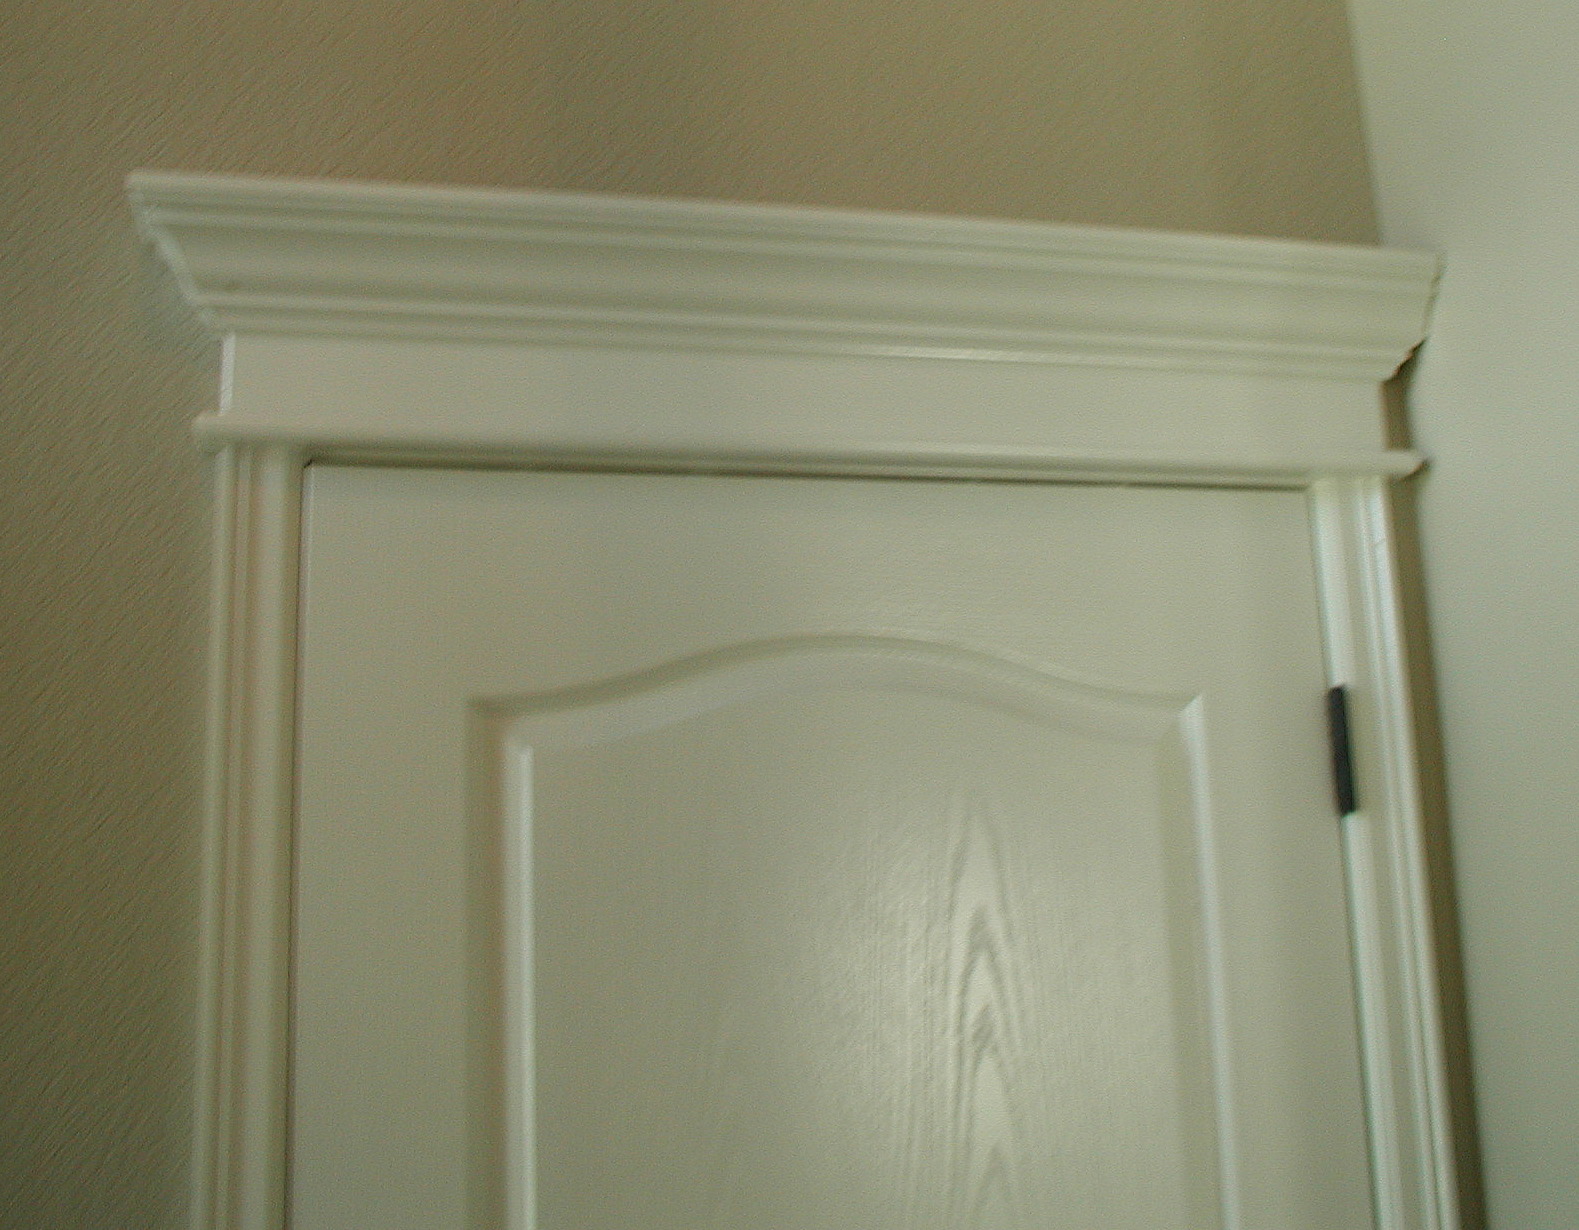
Once you have cut out the molding, you need to go on and install it on the top of the door frame. In order to secure the molding in place, use nails to hold it in place and to make sure it doesn’t fall out. -
4
Measure sides
The next step is to go on and measure out the sides of the door way. These are the longer parts of the door that run from the top piece of the molding all the way to the floor.
Once again, in order to make sure your measurements are accurate, take them a few times till you get consistent results. -
5
Cut sides
Now you need to cut out moldings for the sides, in the same manner that you cut them out for the top of the door way. -
6
Install sides
You need to carefully install the sides of the molding just as you did on the top of the door way. After doing this, you need to get nails to secure the moldings in place to ensure they stay stable. -
7
Finish
After following all the steps, you need to finish off the molding by adding some finishing touches and touching up the areas where the nails marks are.


