How to Build a Photo Tent
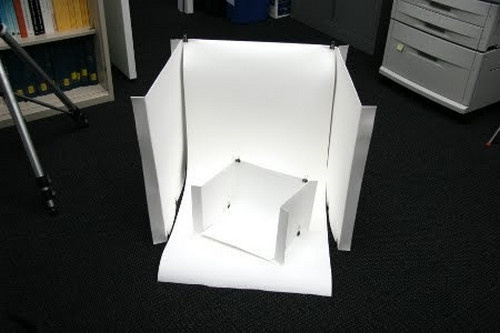
Many people have photography as a hobby and are fond of taking landscape pictures to capture nature’s beauty on snaps. It is commonly believed that to take high quality pictures, a digital camera with high ‘pixel’ number is required. However, you can use a photo light tent to improve the quality of photos taken from any camera. Photo tents actually control the light falling upon the object in focus and make the photographs look more professional. You can make a photo light tent at home and it won’t cost you a lot.


Instructions
-
1
Take a length of PVC (Polyvinyl Chloride) pipe and cut eight 18-inch long pieces out of it. You can use a hacksaw or any other appropriate cutting tool.
-
2
Take a ‘T’ fitting and insert one of the cut pieces of pipe into it. Make sure to apply a small amount of glue to the pipe before inserting it into the vertical leg of the T fitting. Use another T fitting and pipe to make two side rails of the tent frame for the top.
-
3
Add a small amount of glue to the other end of the pipe being attached to the T fitting and insert it into another T fitting firmly. Make sure it is parallel to the first T fitting and this will make an ‘I’ shape. Do the same with the other T fitting to make two such arrangements for the side rails.
-
4
Place the two completed pipes on a flat surface, keeping a distance of about 20 inches between them.
-
5
Dab some glue on an unused piece of pipe and insert it into the bottom slot of the left-hand pipe. Do the same with the other completed pipe. Now use other another pipe to make a square and connect the top tees.
-
6
For making the legs of the light tent frame, you have to insert one end of the other four unused pipes into the rubber tips.
-
7
Use a sandpaper to smooth out all the cut edges of pipes. This will make it easier to remove the legs for the storage.
-
8
Take an elbow fitting and insert open end of the leg into its larger opening. Do the same with other four legs to complete the tent frame.
-
9
Apply glue to the larger end of an elbow fitting and insert it into the open end of the T arms on the square frame. You have to repeat the same process on the remaining three legs to complete the tent frames.


