How to Use Windows Scanner and Camera Wizard
Windows operating systems allow their users to directly transfer images from a digital camera, or a memory card, to computer hard disk drive, by using the Windows Scanner and Camera Wizard. The option for Windows Scanner and Camera Wizard automatically appears on the screen right after you connect your camera or a memory card with your computer.
It is really easy to transfer images from camera to computer, provided that you know the right process. If you have recently purchased a new camera and do not know how to transfer your pictures, then keep reading this article to learn the basics of using the Windows Scanner and Camera Wizard.


Instructions
-
1
First of all, you need to decide which photos you want to transfer from your digital camera to computer using the Windows Scanner and Camera Wizard.
-
2
Connect your digital camera with your computer using the USB cable that came with your camera. If you do not have USB cable with you, then you can take out the memory card from your camera and insert it in the memory card reader, if you have it installed on your computer or printer.
-
3
Now wait for the dialog box to appear on your screen, telling you about detecting a new memory card, or the device (camera) connected with the computer. It will take some time to install the drivers for your camera or the memory card.
-
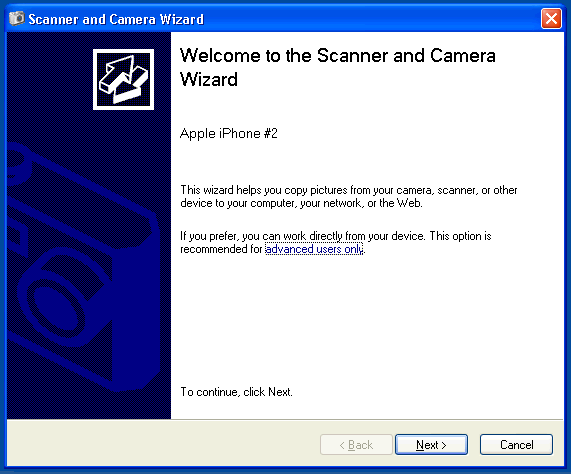
4
Once the installation is complete, you will see a “Removable Disk” window appearing on your screen, with a number of options to choose from. Here, you need to click the “Windows Scanner and Camera Wizard” option to launch the wizard.
-
5
The wizard will now scan for all the images present in your camera. You need to check the boxes against each image that you want to download to your computer using the Windows Scanner and Camera Wizard.
-
6
After you are done with selecting all the photos that you want to transfer to your computer hard drive, click “Next” and you will be asked to define a folder where you want to save all your images. For that purpose, click the “Browse” button and click on the folder that you want to use for your camera images. Keep clicking the “Next” button until you are finished with transferring all your desired images.


