How to Add Rope Lighting to Crown Molding
Small touches in construction can magnify the beauty of a building. It takes skill and understanding to add these deft touches to the construction work. These often increase costs yet add to the value of the setting.
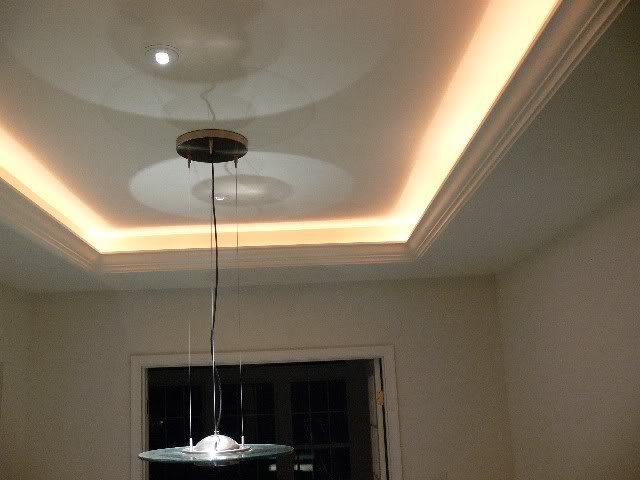
Crown moldings are one such aspect that adds a new life to the look of a room and makes it look royal. It can also be used to decorate the room in a special manner. You can add some lighting to crown moldings that further adds to its beauty.
It’s not a very difficult process and one that can be done by yourself in your spare time.


Instructions
-
1
Position Base Molding
The first thing to do is to make markings eight inches below the ceiling all around the room. Use of chalk is ideal for this purpose. Then cut the base molding as per the required length. Afterwards, nail it to the wall at the underside of the chalk line.
- Image Courtesy: www.lowescreativeideas.com
-
2
Attach Wedges
The next thing to do is to cut wedges that have a size of 2 inches. Make sure that you have enough wedges that can be used all around the room at a distance of app 24 inches between each wedge. Using a nail gun for this purpose will be ideal. Special care has to be taken to make sure that the wedges are put in line and are at the same level. They should be placed at the top of the base molding.
- Image Courtesy: www.universityofthetrees.org
-
3
Mount the Lights
You will then mount the ropes alongside the top of the base molding. You will need to use plastic hanger clips for this purpose and nail them down with a one inch screw. You can use a screw gun for this purpose as the job will be done with relative ease. You will need to add lights at the desired distance. The lights should be coming with a cord and plug. It is best that you take the help of a professional for this purpose.
- Image Courtesy: led-neon-flex.en.made-in-china.com
-
4
Nail the Crown Molding
Make sure that the crown molding fits against the wedges. Once you are certain that it will fit, nail it down with the help of a nail gun. Continue the same process around the room. Make sure that you do a clean job and there is no gap between the molding lengths. Afterwards, you can use wood putty to give a clean finish.
- Image Courtesy: www.diynetwork.com


