How to Build a Saltbox Storage Shed
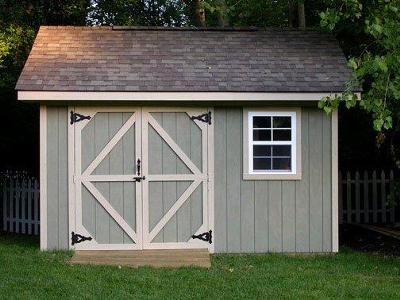
Saltbox storage shed is one of the most useful outbuildings. It is slightly different from the standard gable-roofed shed because of its different sizes of rafters and un-centred roof ridge.
If you are looking forward to build a saltbox storage shed in the premises of your house, you can take help from the given steps.
Things Required:


Instructions
-
1
First of all, you have to make the layout of your saltbox storage shed. Take the mason’s string and stakes to mark the necessary lines which are six inches longer and wider as compared to the original dimensions of the shed. Then, you have to excavate the ground to around six inches downward. After that, just fill the empty area with the compactable gravel and level it. Now, place two timbers after cutting them according to the length of the shed.
-
2
Build the floor of the shed and gallop the joists in the perpendicular direction. Then, place them on the centre. Now, place the frame on the timbers and take the measurement of the opposite sides to ensure that it is a square. Hammer the nails into the frame and cover it with the plywood.
-
3
Now, you have to install the walls of the shed. Just space the studs 16 inches on the centre of the shed and add the tie plates to the walls. If you are going to use a pre-hung door for your shed, you will have to buy it well before building the shed so as to make sure that the layout is accurate for the opening.
-
4
Then, install the rafters on the walls of the shed and make the essential adjustments. You can easily use them later to cut the remaining rafters.
-
5
Take the plywood sheathing and deck the roof of your shed with it. After that, install the asphalt or any other material if you want. You can add a corner or any other thing as per your requirement in the shed. In the end, install the door to complete your shed.


