How To Change a Network From Secure to Unsecure
While a secured wireless network is there to protect confidential information sent between different computers through a router with the help of WEP and WPA encryption, sometimes a user may want to allow other computers to connect to the network in order to use the internet. While it is advisable to call a professional to handle the network settings, if it possible to make the changes at your own as well without much hassle.


Instructions
-
1
The first thing you need to do is to open your internet browser, click the address bar and enter the IP address of your router. You will find this IP listed in the operating manual of your device. However, if you have lost your router’s operating manual, then try “192.168.0.1” or “192.168.1.1” without the quotation marks. These are two of the most commonly used IP addresses for routers.
-
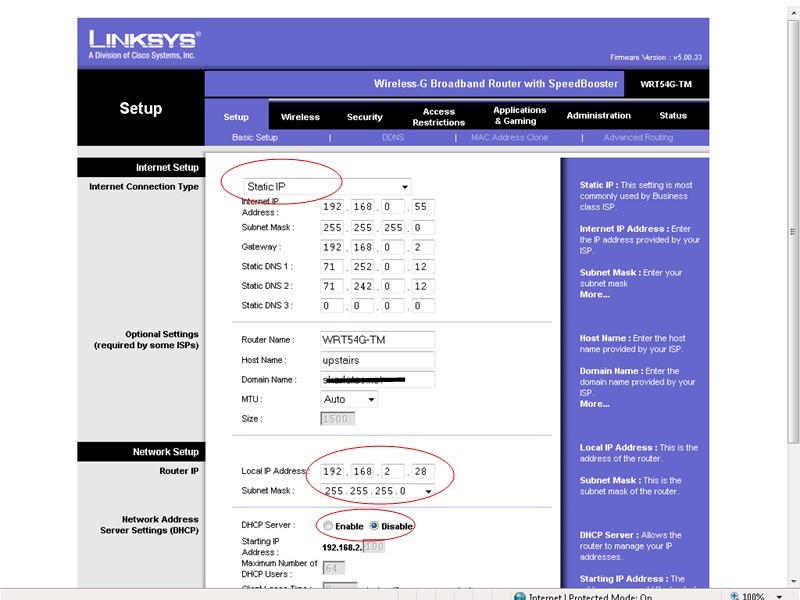
2
Once you enter the right IP address of your router and press enter, you will be prompted to enter login details in order to access the administrative utility. Most of the network administrators set the username and password as “admin” without the quotations. However, this username and password can be changed. Enter whatever username and password has been set for your router to proceed.
-
3
Once you successfully log into the administrative utility, you find yourself staring at an interface with a number of tabs and numbers on it. Locate and click “Wireless Settings.” You will find it in the administrative field.
-
4
Locate and click the “Manuel Wireless Network Setup” button. If your router software does not have the aforementioned button, the setup page would probably immediately appear on the screen without clicking any additional button.
-
5
Locate the Security drop-down menu on the screen. Once you find it, select the “None” or “Unsecured” option. If there is no drop-down menu on the screen, then you will probably have a Security check box for enabling encryption. If you see that box, click it to uncheck.
-
6
The final step is to save the changes that you have made by clicking the “Save Settings” button.