How to Remove the Dash from a Ford F-150
A number of small trim panels when combined together form the dash on a Ford F-150 pickup truck. If you find yourself in a situation where you have to remove the dash, you either take the truck to a workshop or you can accomplish the task yourself and save invaluable money. Fortunately, it is easy to remove the dash from a Ford F-150 provided that you know the right way to do it. Here are the tools that you will need to complete this task.
Things Required:
– Wrench
– Insulating tape
– Phillips head screwdriver
– Flathead screwdriver


Instructions
-
1
Before you even start removing the dash, you need to disconnect the car battery. You can accomplish by peeling back insulation on the battery’s negative terminal and opening the clamp nut on the terminal. Use a wrench to open the clamp nut. Once you have removed the black wire, wrap insulating tape around it to prevent the risk of a short circuit.
-
2
With a Phillips head screwdriver, remove the two screws which hold the driver's-side knee bolster in place. The screws will be located at the bottom of the knee bolster. To remove the bolster, pry around its top with a flathead screwdriver.
-
3
Now you need to remove the instrument cluster bezel. To accomplish this, remove the screws at the two lower corners of the bezel with a Phillips head screwdriver. The top end of the bezel is being help in place with plastic clips. Release these clips and pry off the bezel. There may be some electrical connectors attached to the bezel. You will need to disconnect them before you can remove the bezel.
-
4
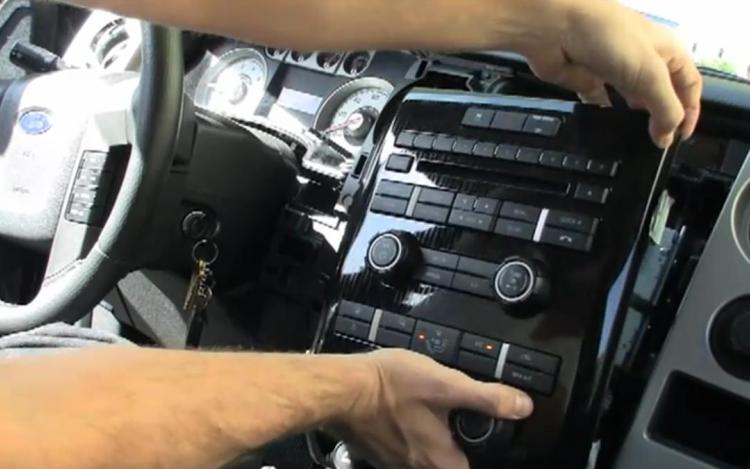
Now it comes to removing the instrument panel centre bezel. This panel basically surrounds controls related to stereo, heater and the air conditioner. You can remove the centre bezel by releasing it from its clips with a flathead screwdriver.
-
5
The upper finish panel comes next. This should be easy because you just need to get rid of the screws holding the upper finish panel in place.
-
6
Now it is time to remove the glove compartment. For this purpose, simply open the compartment doors and firmly press two of its sides inwards. While maintaining the pressure, get rid of the fasteners.
-
7
Finally, get rid of the pushpin fasteners which are responsible for holding the centre brace cover in place. Once you have removed the pushpin fasteners, you can remove the entire panel.


