How to Carve a Pumpkin with a Stencil
There are a number of ways in which a pumpkin can be carved to make a beautiful jack-o’-lantern; using a stencil being one of the possible ways. You can either purchase a stencil or make your own stencil. Either way, the task is very simple if you have the right set of tools at your disposal. Here is what you will require in order to easily carve a pumpkin with a stencil.
Things Required:
– Pumpkin stencil
– Pumpkin carving knife
– Spoon
– Drill tool or needle
– Candles
– Linoleum cutter or wood gouge


Instructions
-
1
Start by cutting a lid from the top of the pumpkin you are planning to carve. Make use of a pumpkin carving knife for this purpose. Make sure that the opening you cut is large enough to fit your hand insider the pumpkin.
-
2
Use a spoon to remove the pumpkin pulp and seeds. You might want to retain the pumpkin seeds for roasting instead of throwing them away. Ensure that you have gouged out all of the pulp before moving on to the next step.
-
3
Create a small incision on the back of the pumpkin lid that was cut in the first step. The incision you create will serve as a reference to the correct position of the lid. Moreover, it will create an opening for heat and smoke from candles lit inside the pumpkin can escape easily.
-
4
Determine the area on the pumpkin where you plan to use the stencil. Reduce the thickness of the pumpkin shell to 1 inch by scrapping the pumpkin from the inside on the determined area. This will make it easier for you to carve the pumpkin.
-
5
Place the stencil against the pumpkin. You may need to trim or make small incisions in the stencil so that it fits properly on the pumpkin. Secure the stencil to the pumpkin by taping it around the edges.
-
6
Poke small holes through the stencil and into the pumpkin shell. Use a drill hole or a needle for this purpose. Continue to drill holes until the stencil has been completely transferred onto the pumpkin and then remove the stencil.
-
7
Carefully saw through the shell of the pumpkin, using the dotted lines that you created in the previous step as a reference. Gently push pieces of pumpkin shell inwards to detach them from the pumpkin.
-
8
Use a linoleum cutter in order to carve different designs into the pumpkin shell. These carvings will help create a glow effect.
-
9
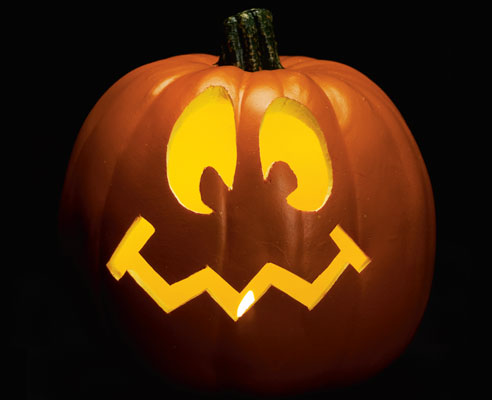
Finally, carefully place a candle inside the carved pumpkin and light it. Make sure that the candle is anchored properly.


