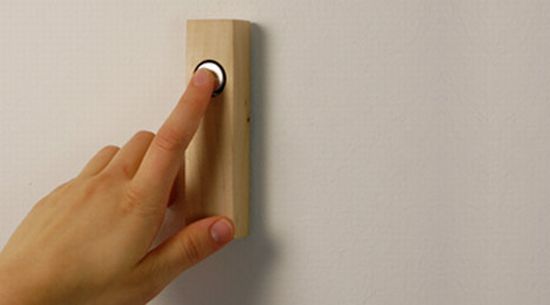
How to Install a New Doorbell Unit
Over a period of time, doorbells end up having a number of problems. They develop a chime, or refuse to work properly. In these situations, most people look to replace their doorbells. However, this can prove to be expensive if you hire someone else to do it for you. Replacing the doorbell yourself is an inexpensive way to get stuff done, and it is only going to take an hour on average to do so. At the same time, replacing the doorbell yourself will ensure that you are well trained to do it again in the future, should the need arise ever again.


Instructions
-
1
The first thing you need to do is go and turn off the power supply to your doorbell. Normally, the doorbells in households operate at 12 volts, which is rather low and can’t hurt anyone. However, it is better to take this safety precaution in case there is a fluctuation of some sort.
-
2
Now go on and remove the cover from the old doorbell unit. It is going to be a clip-on piece, so you can pull it right off after messing around with its plastic clips.
-
3
Next you need to unscrew the screws which are holding the wires down. Each of these wires would be a different colour, and would have letters printed on them to differentiate them from one another.
-
4
With the wires now removed, the next step is for you to remove the whole unit from the wall. Now check if the new bell covers which you bought are of the same size as the old ones. If they are not, you can go on and create some space for it to fit in.
-
5
Now place the back of the new doorbell in place. After this is done, pull the wires through the back plate.
-
6
Once this is done, go ahead and connect all the wires into their designated spots. Remember the observations you made when taking the old bell apart and follow that same pattern.
-
7
Place the final cover of the bell on it and turn the power back on. Once the power is on, go ahead and test out your doorbell, to ensure that it is working fine. If there are any issues, take it apart and make sure that you connected the wires properly.


