How to Build a Wood Pergola
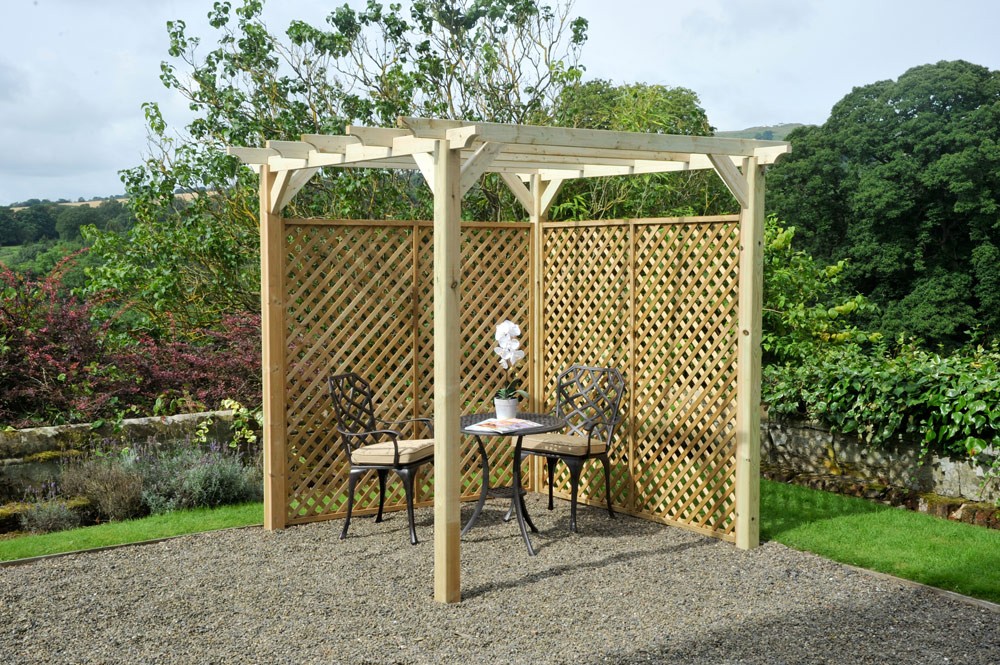
Building a wooden pergola is one of the most beautiful additions that you can make to your garden or terrace because it gives fascinating look and expresses the rich taste of the inhabitants of the home. In the recent times, building a wood pergola has become a trend and people having huge homes always build beautiful and trendy pergolas which are usually made of wood. If you also want to make your law or terrace beautiful then there is no better option than building a wooden pergola. Read this article to learn how to build a perfect wood pergola.


Instructions
-
1
First of all, you should decide the location where you want to build a wooden pergola. You want it in your lawn or at terrace because both locations usually require different designs and sizes.
-
2
Draw a sketch of the pergola and also include the expected size. Do not forget to draw measurements which will help you in building a perfect wooden pergola.
-
3
Now you should also mark the area where you want to build pergola. Usually it requires 8 square feet area for a standard sized pergola. Take measurement diagonally from all corners of the marked space.
-
4
Take a post hole digger for digging four post holes in all four corners of the place that you have decided for building a wood pergola. You should also put a few inches crushed stones in the holes in order to give an appropriate drainage.
-
5
Now you should put a 4x4 post in one hole and level it ensuring that it is plumb. For providing support, you need to attach a temporary lumbar brace with the post which will keep it in right direction.
-
6
Now put concrete around the post and also add at least one gallon of water which will help concrete to fix the post fast. Not do the same with other three holes.
-
7
Now take four support beams which should be equal in size and length. Each beam should be clamped with the outside position where two posts meet. The beam should be clamped in a completely levelled way. Repeat the process to clamp the remaining three beams in three remaining corners.
-
8
You should drill two holes in each set of posts and beams and insert carriage bolts in these holes. Use wrench to secure the bolts with nuts and washers. Do the same with all remaining posts and support beams.
-
9
The last step is that you should take measurement and mark the places where rafters will be attached to beams. Use hurricane clips to attach the rafters with the support beams.


