How to Install a Parquet Floor
Parquet flooring gives your room class and style. It consists of different strips of wood that combine to make repeating patterns. The wood is either hardwood or laminated and combined with the patterns gives your room a grand look. Parquet flooring is available in different colors and patterns so you have a great liberty while choosing. It is easy to install and is quite durable.
Things you need:
– Parquet floor tiles according to room size
– inch tape
-rubber mallet
– good quality adhesive
– sander
– chalk
– jig saw
– floor roller
– notched trowel
Steps for how to install a Parquet floor are given below. Roll up the sleeves and set to work.


Instructions
-
1
Prepare the base:
Clear the sub base of debris, wax, adhesives or any other material. Make sure that the sub floor is completely dry before your start or else the adhesive wont be much effective.
The floor needs to be completely level. Use a sander to even out any high areas. Use cement compound to fill out sunken ones.
-
2
Measure the area:
Use the inch tape to measure the room dimensions so that you know how many tiles to get. Parquet tiles are usually available in squares of 9'' and 12'' inch. Divide the room area by the tile areas (81 for 9'' and 144 for 12'') to get the number of tiles you will need. It is on your discretion and the options available to decide which tile size to select.
-
3
Draw chalk lines:
This is the most critical stage of the process. You have to find the center point of the room. Find the mid point of two apposite walls. Repeat for the other set of walls. You now have the center point i.e where the two mid point lines intersect at a 90 degree angle. Draw diagonal lines from this center point to the four corners of the room. The diagonal lines should be on a 90 degree angle to each other.
Do a trial with the tiles now without the adhesive so that you learn the patterns with practice of the tongue and groove.
-
4
Apply adhesive:
Some tiles are self adhesive which make your work easier. For others you need to apply a layer of adhesive to the back of your tiles, one at a time with a notched trowel angled 45 degrees to the floor surface.
-
5
Lay out tiles:
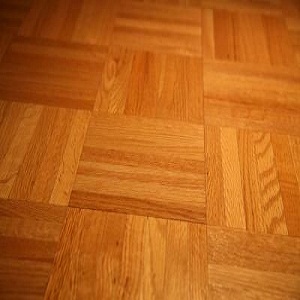
Start laying out the tiles from the center outward towards the wall. The chalk lines will ask as guide for you so expose them a bit. Place the first tile where the lines intersect as shown in the picture. Engage the tongue of the second tile into the groove of the second and press in. Tap into place with a rubber mallet. Continue laying the tiles towards the wall using the chalk lines.
-
6
The border:
Once you approach the border of a wall, use a technique to cut the tile perfectly. Use two tiles and slide one over the top of another, with a space of 1/8 inch from the wall. Mark the bottom tile and use a knife or jigsaw to cut the tile to fit the pattern. Use adhesive and set it against the wall.
Repeat the process for all borders and corners.
Once you are done, use a 150 pound roller over the newly set tiles so that they are set firmly.


