How to Make a Paper Snowflake
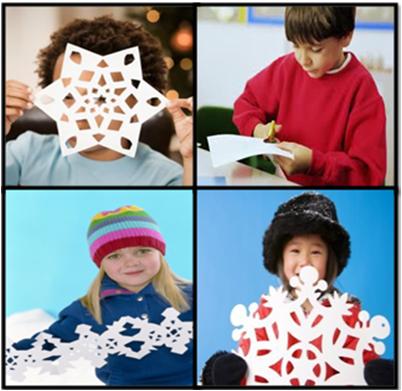
Paper Snowflakes are very appealing and enjoyable crafts. Making your own paper snowflakes at home is one among the simplest artistic activities and a superb excuse to spend quality time with your kids. It is not only simple, but a cost-effective project as well. It is a mix of imagination along with scissors and a paper piece. You can make them in hundreds of designs and patterns. The handmade paper snowflakes make eye-catching tree and window decorations for various occasions, especially Christmas. Moreover, you can use the beautiful designs to wrap your gifts.
Read this simple guide, recall your childhood days and enjoy making your own Paper Snowflakes with your kids.
Things Required:
– Piece of paper
– Pair of scissors


Instructions
-
1

-
2
Gently fold one side over about one-third of the way to find the center of the paper. Now fold it into thirds in a triangle shape, as shown in the image on your right hand-side.

-
3

-
4
Use a pair of sharp scissors to cut off the top of the paper.

-
5
You are all set to cut out your snowflakes! Now start cutting away from the sides of the paper and then cut the patterns that you have in your mind. Try some simple designs first and then attempt the complicated ones.

-
6
Unfold the paper with great care and enjoy your six-sided snowflake. Now, they can be decorated with some glitter, stickers, or markers – if preferred. Moreover, punch a hole in your snowflake, tie some yarn to it, and cover it with glue-glitter to make attractive ornament.


