How to Lower a Hum Bucker Pickup
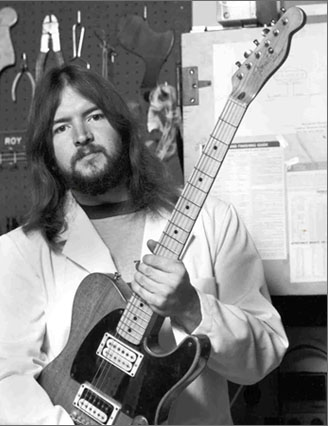
Hum Bucker is a twin coils electrical guitar. Its configuration itself cancels out the hum, which is induced by electromagnetic current. This is one of the reasons that the guitar is known as Hum Bucker. This style guitar was introduced to the music industry in 1930s. However, they did not gain popularity until 1950s when Gibson adopted them as a Les Paul model. Since then they have an iconic status, and are a regular part of musical instruments. The pickup has two adjustments, which raise or lower the position of the pickup and have an effect on the sound.


Instructions
-
1
Decide Sound Effects You Want
You can easily lower strings and raise them as well, however, you will need to decide first what effects you want to create. For example, lowering of pickup gives a warmer sound and tone is soft and elegant. If you raise strings near the pickup it creates punchy and hard sound effects, which is quite opposite to the warmer sound. -
2
Lowering of Pickup
The Hum Bucker pickup guitar has two options and both are meant to create different sound effects. If you want to lower the pickup, tighten the screw with a screw driver. Screws are located on both sides of the long end of the pickup, tightening one screw can lead you to loosening of the pickup, and this will give you an effect of warmer sound. Make sure you frequently switch between the screws because you will need to tighten both screws at the same level. -
3
Raising Pickup
If you want to create strong and punchy sound effects, you will need to loosen the screws the way you have tightened them. Again, make sure that you loosen both screws at the same level, as otherwise, this will affect clarity of the sound and its overall quality. -
4
Adjustment of Poles
First of all disconnect power to the pickup, and then locate two poles underneath the strings. They will have either a wrench head or a screwdriver head. Take either one of them and tighten the screws clockwise. This will tighten both poles at the same time and give you a sound effect that you want to create. Although this procedure is a bit tricky and lengthy, if you follow each step carefully you can achieve the desired goal without making a mistake. You can adjust the screws and poles to a maximum extent depending what sound effects you want to create.


